Creating users and groups
The Browse module content is publicly accessible by anonymous users, the Create module, however, requires authentication to access.
That’s the reason why we must define users and user groups prior start working with the software.
Administrator login
The next steps will be performed on the Browse module and from an administrator account, the same that we would have defined during installation.
First, we will login by clicking on upper right menu bar Sign on to -> Browse module button.
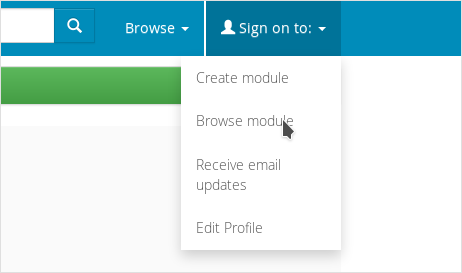
Admin login
You will be redirected to CAS (Central Authentication Service) page. On this page we will type admin.email and admin.password on its login form.
If we have any problems with our password, we can click on the Forgot your password? link to reset it. After that, the Browse module navigation bar will change and a link to the Create module will appear on the right upper corner.
Important
You cannot access the Create module directly from an admin account, you need to create a user account to get access through it
On the options on upper right menu bar we will click on Administer.
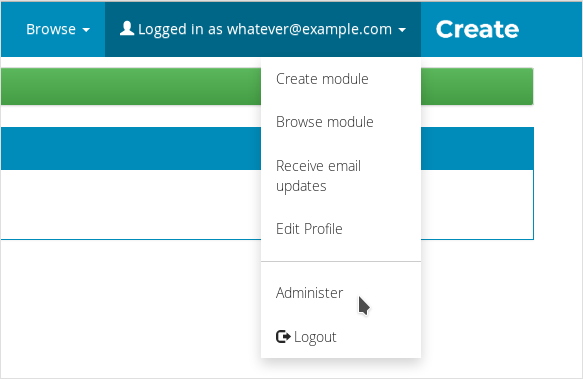
Admin administer
The menu bar will change to administrator mode and more options will be accessible. When clicking on Access control, three options will be displayed, we will use these two:
Groups: To build groups of users.
E-People: To create, modify and delete ioChem-BD users
Tip
Prior creating users, it is advised to create the user groups and the publication endpoints, those information will be used during user creation.
Otherwise you can use Batch generation using .csv format procedure to create all of them in one single operation.
Creating groups
User groups are logical associations of users, we can gather them by research group, team leader, or even create a default group with all users inside it.
Users can belong to multiple groups, but in this case they must also have a default main group defined.
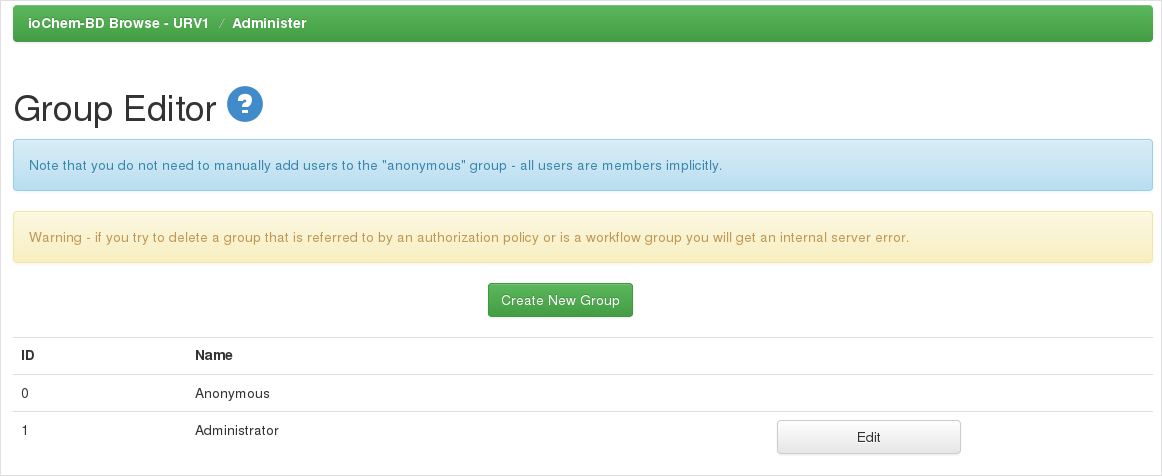
To create a group, click on Access control and then on Groups menu button. On the next form we will click on Create group.
On the next form we will:
Set group name and
assign users to group (we can do this at any time later)
then click on Update group button, the group will be created.
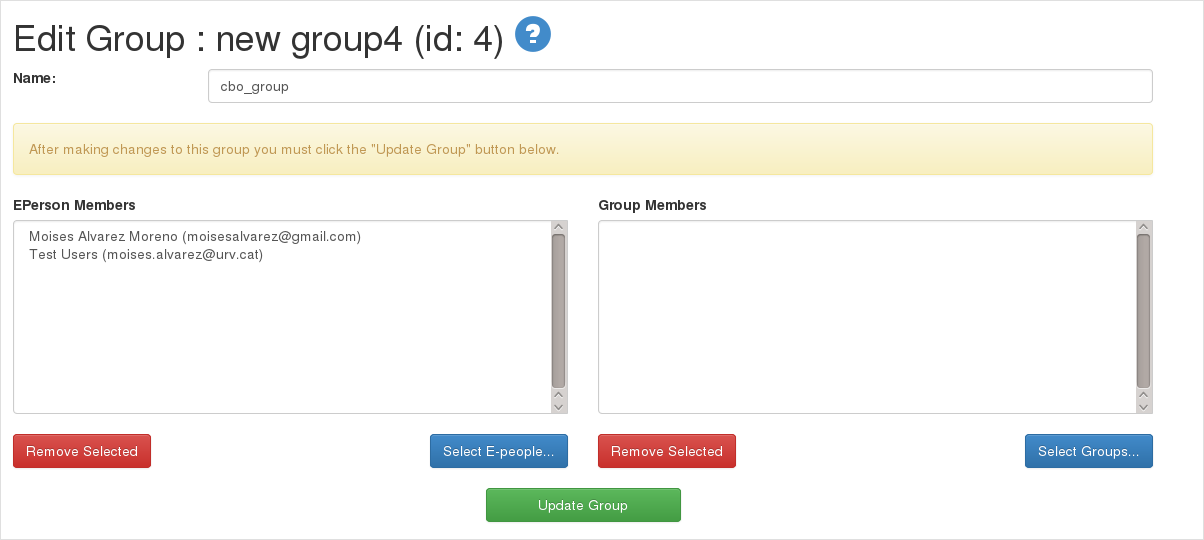
Admin assign group users form
Creating users
Administrator has two mechanisms to generate user accounts:
Batch generation using a csv formatted file
Manual generation using web forms
It is advised to use batch generation mechanism initially to speed up account generation. After that, adding new users can be done with either manual or batch mechanism.
Batch generation using .csv format
We can use this webpage to speed up user and group generation.
It will take as input a group of csv formatted lines and process it, performing automatically:
User creation (with automatic username generation)
User group creation (if the provided group name doesn’t exist)
Publication endpoint generation (if option is checked)
Send password reset email to all new users (if option is checked)
We will focus on the Access control menu. When clicking on it, three options will be displayed, we will pick on first one, E-People. From Administer EPerson page we will click on the Add multiple E-Person (csv)… button:
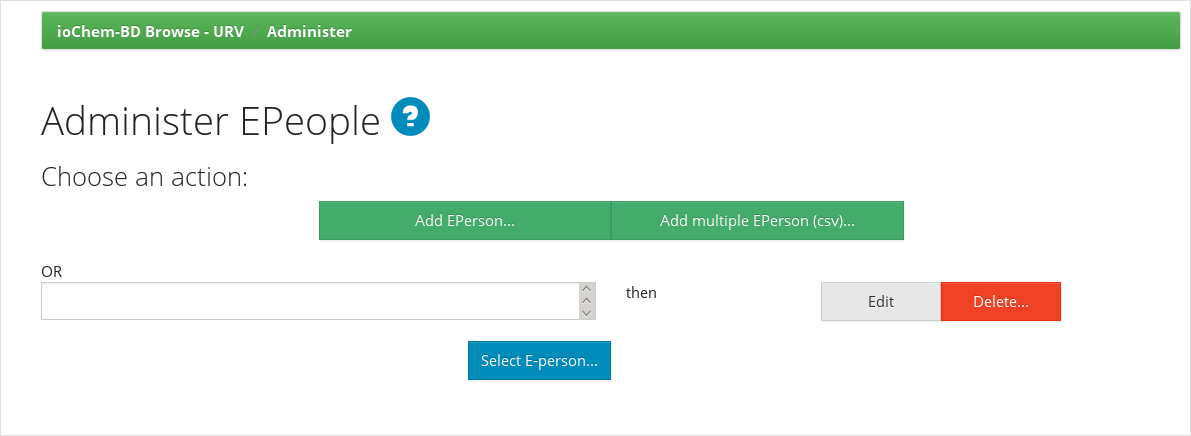
Admin create user form
Next page will display a large textarea where we will paste the list of users to generate.
Pasted text must follow this rules:
All fields must have a value
All fields must be delimited by semicolons ;
Don’t need to use double quotes on text fields, even if they contain white spaces
You can’t use diacritics and symbols on user first and last name and also on user’s group name.
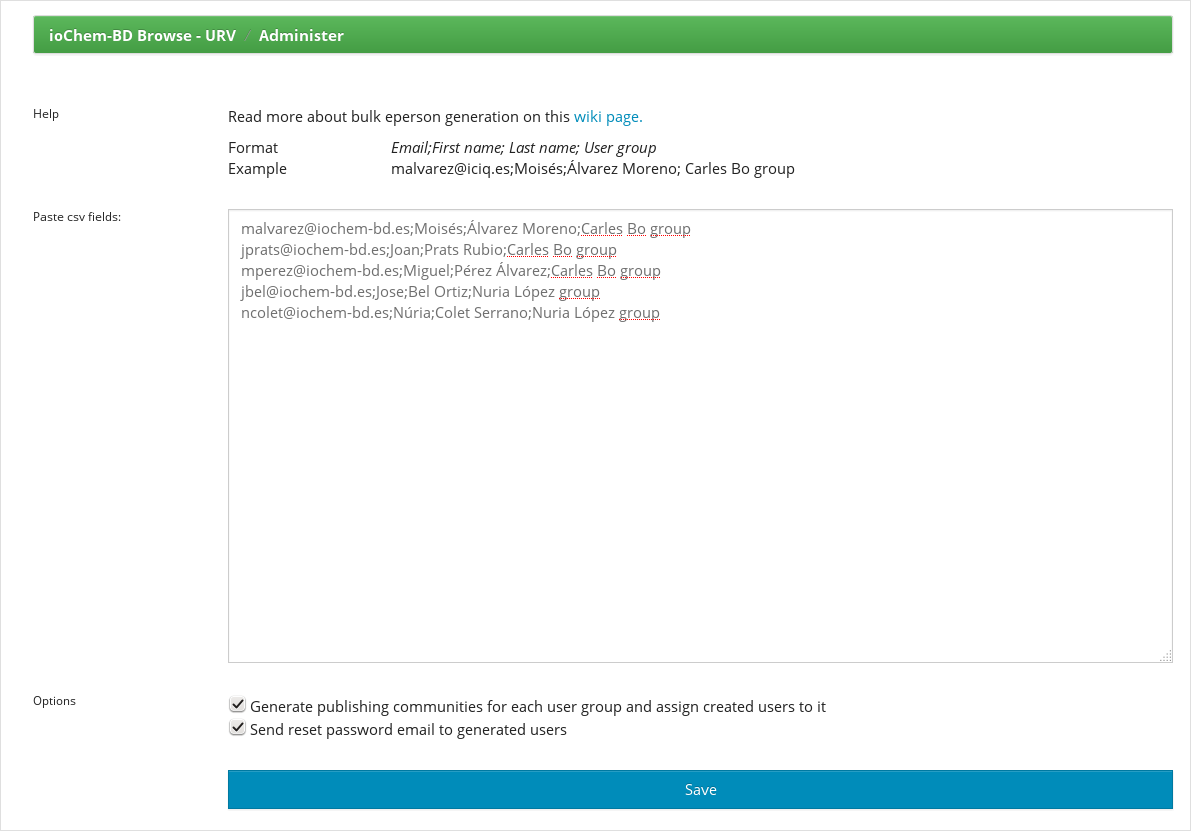
Admin create user via batch process
Every line will contain all information about a single user. It will appear in this order:
User email
User first name
User last name
User group (the group of users where he/she will belong to)
The user group field is used to easily build user groups, so users with same user group field will be included in that group. Example:
malvarez@iochem-bd.es;Moisés;Álvarez Moreno;Carles Bo group
jprats@iochem-bd.es;Joan;Prats Rubio;Carles Bo group
mperez@iochem-bd.es;Miguel;Pérez Álvarez;Carles Bo group
jbel@iochem-bd.es;Jose;Bel Ortiz;Nuria López group
ncolet@iochem-bd.es;Núria;Colet Serrano;Nuria López group
So if we use this lines, ioChem-BD will generate five users and two groups of users:
Carles Bo group : with users Moises, Joan and Miguel
Núria Lopez group : with users Jose and Núria
In this case we have named our user groups with the name of the group leader but you can use other naming convention as can be the group research type or whatever that suit your needs.
Warning
If the user groups already exists and you only want to append the new users to it, please set the names of the groups equals to the existing ones. Different group names will generate new user groups and a new publishing communities.
Note
You can check group names on top of the same page.
Options
There are two checkbox options at the bottom of this page that will help on other side aspects of user generation process.

Admin create user options
First one is labeled Generate publishing communities for each user group and assign created users to it. It will help us on defining publishing endpoints on Browse module.
If it is checked, the process will also generate a community with the name of the user group where our new users can publish their content into Browse module.
Last option is labeled Send reset password email to generated users. If checked, it will send a reset password email to all newly created users, so they can set their account password to start using ioChem-BD software.
Finally, a textarea will appear with a resume of all unprocessed lines, displaying the reason why they failed. So its administrator duty to correct such lines and create those users again (only the wrong ones).
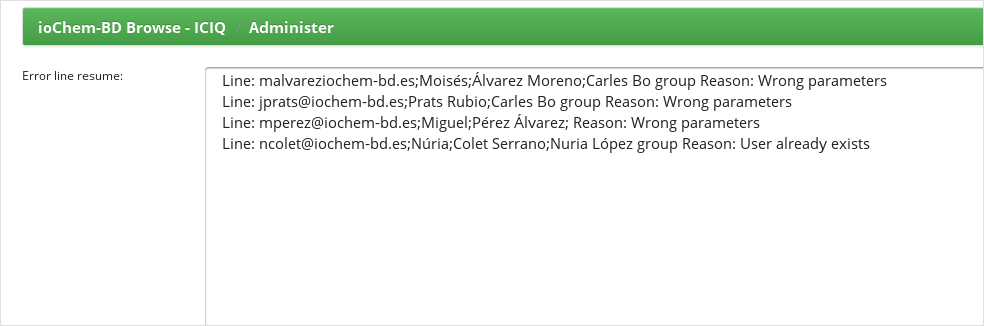
Admin create users via csv, error resume
Using previous example lines would generate two publishing communities called Carles Bo group and Núria Lopez group.
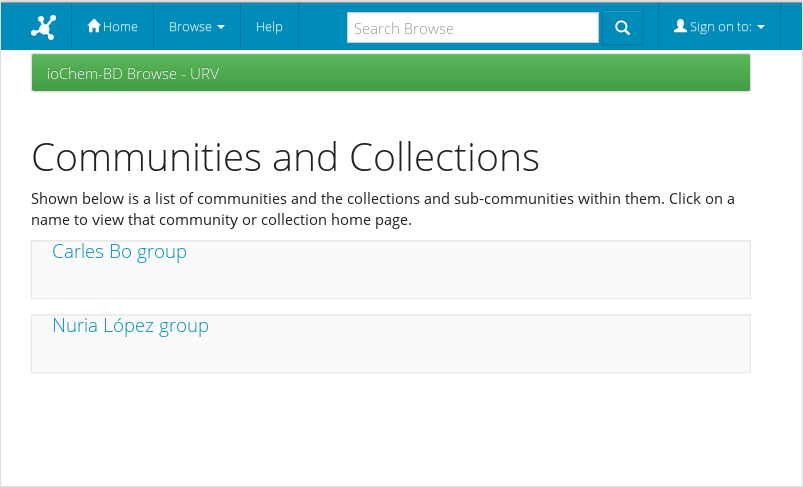
Admin automatically generated publishing communities
In case you need a more complex publishing structure please uncheck this option and read carefully Publishing endpoints definition page.
Manual generation using web forms
From Administer EPerson page we will click on the Add E-Person… button: On the next form we will :
check can log in
set the user’s e-mail on E-mail textbox
add additional user information
Assign the user groups the current user belongs to
This is an example of a user account creation:
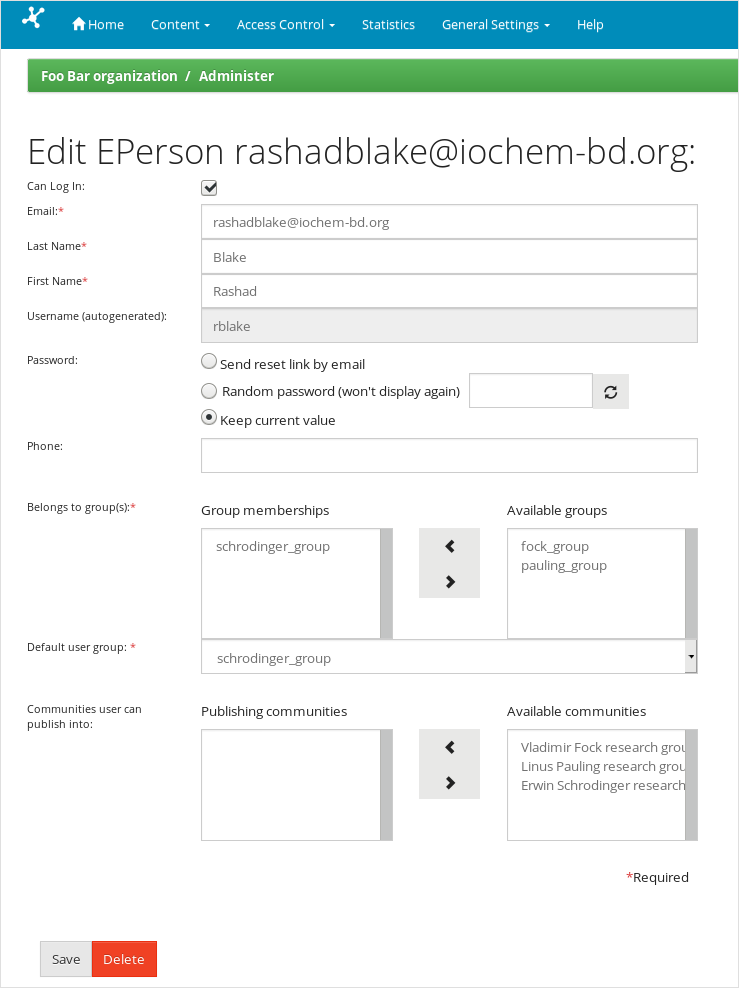
Admin create user
Finally we click on the Reset password’ button, the user will then be saved in the database and a reset password link will be sent to the user’s e-mail.