Purchase a new certificate form a Certification Authority (CA)
In this section we will show the steps necessary to request a certificate to a Certification Authority. In this specific case we will use ssls.com CA to request the certificate, but you can choose any other CA of your choice, the steps will be similar, if not equal.
To buy a certificate we first need to generate a Certificate Request file (CSR). Inside it there will be defined the most relevant data of our certificate (domain to register, institution, city, country, etc).
Then we will submit such CSR file to the CA and after it checks that we own the server of that domain, it will generate and send us the public certificate file(s) to install in our server.
Certificate Request (CSR) generation
You need to run the following commands from the same user account that runs the ioChem-BD software to avoid file permission errors.
First we will move to the ssl/new folder and execute the following commands:
iochembd$  cd BASE_PATH/ssl/new
iochembd$  openssl genrsa -out pkcs1.key 2048
iochembd$  openssl pkcs8 -topk8 -inform PEM -outform PEM -nocrypt -in pkcs1.key -out certificate.key
iochembd$  rm pkcs1.key
Created private key, now go for the certificate request
iochembd$  openssl req -new -key certificate.key -out request.csr

You are about to be asked to enter information that will be incorporated into your certificate request.
What you are about to enter is what is called a Distinguished Name or a DN. There are quite a few fields but you can leave some blank

For some fields there will be a default value, If you hit enter the field will be left blank.
-----

Country Name (2 letter code) [XX]:     ES
State or Province Name (full name) []:     Tarragona
Locality Name (eg, city) [Default City]:    Tarragona
Organization Name (eg, company) [Default Company Ltd]:     Institution of Chemical Research of Catalonia   #Fill with your institution information,
Organizational Unit Name (eg, section) []:     Theoretical Group
Common Name (eg, your name or your servers hostname) []:    iochem-bd.iciq.es                               # Set on Common Name the Domain URL for the certificate
Email Address []:    contact@example.com

Please enter the following extra attributes to be sent with your certificate request

# Leave following fields empty

A challenge password []:
An optional company name []:
Purchasing the certificate
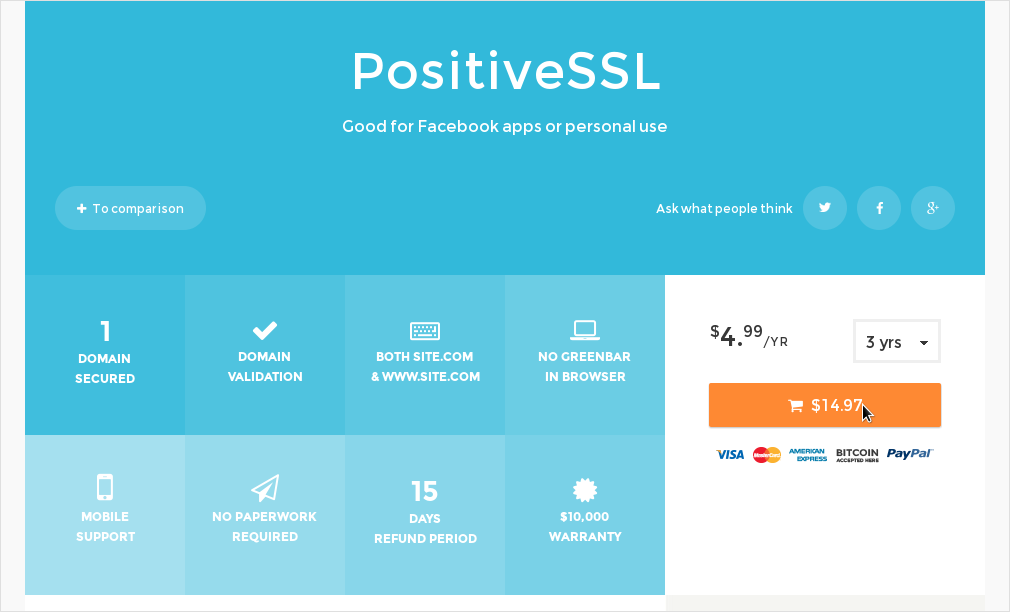
Once selected, customer can select the number of years that the certificate will last until it expires. The longer expiration date, the less certificate updates have to be performed during time.
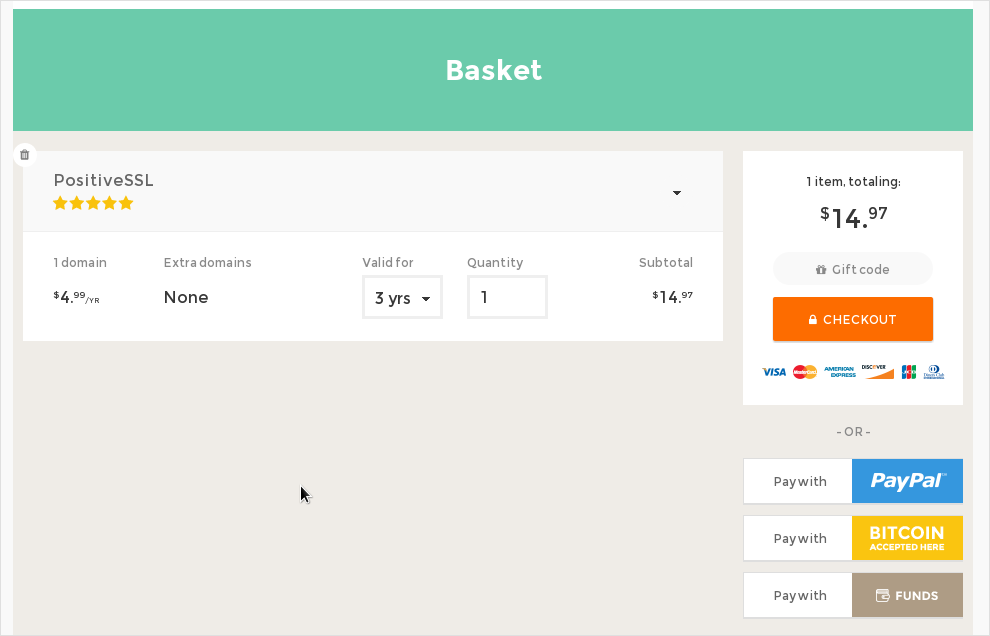
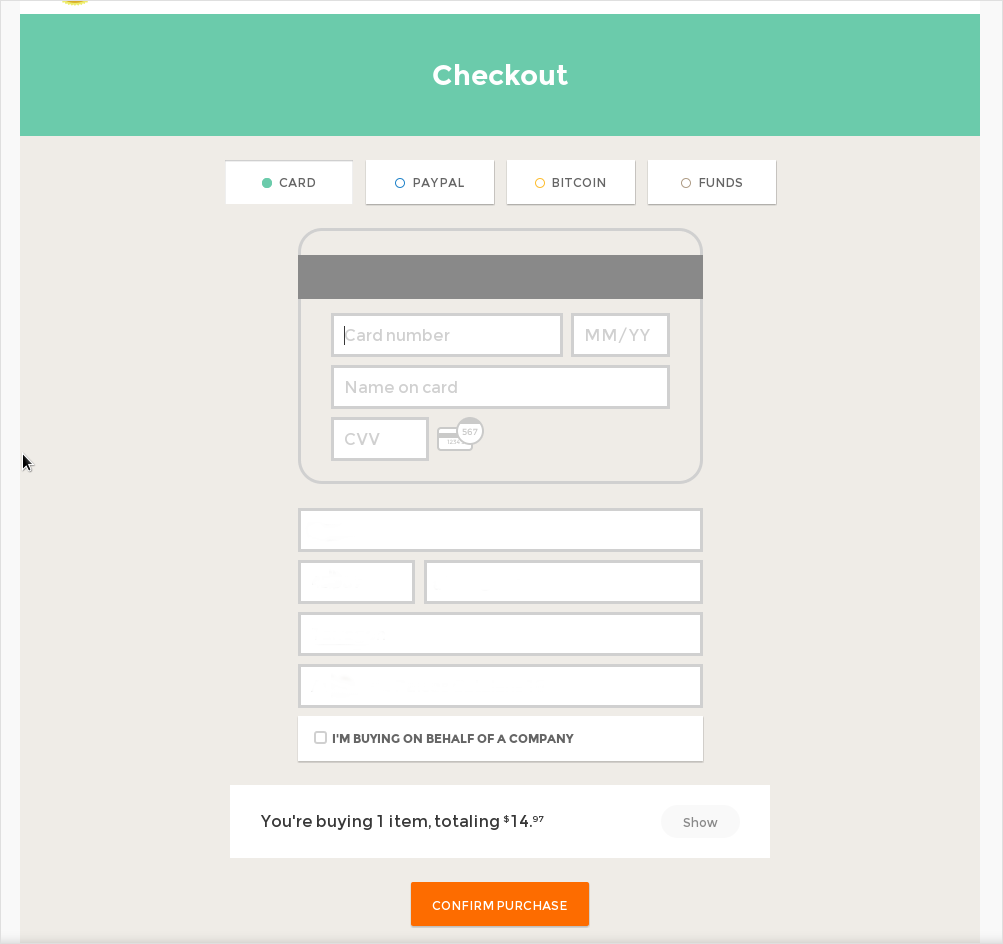
In the next step, the payment method must be filled in
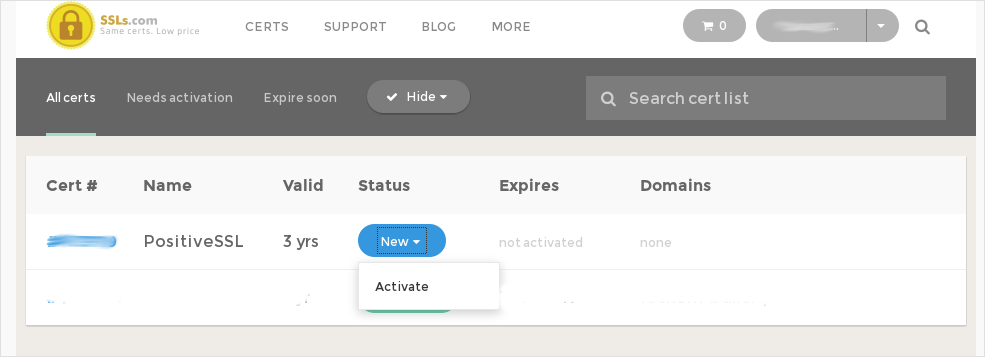
After the payment has been done, the CA page will display a new certificate in the list, ready to be requested.
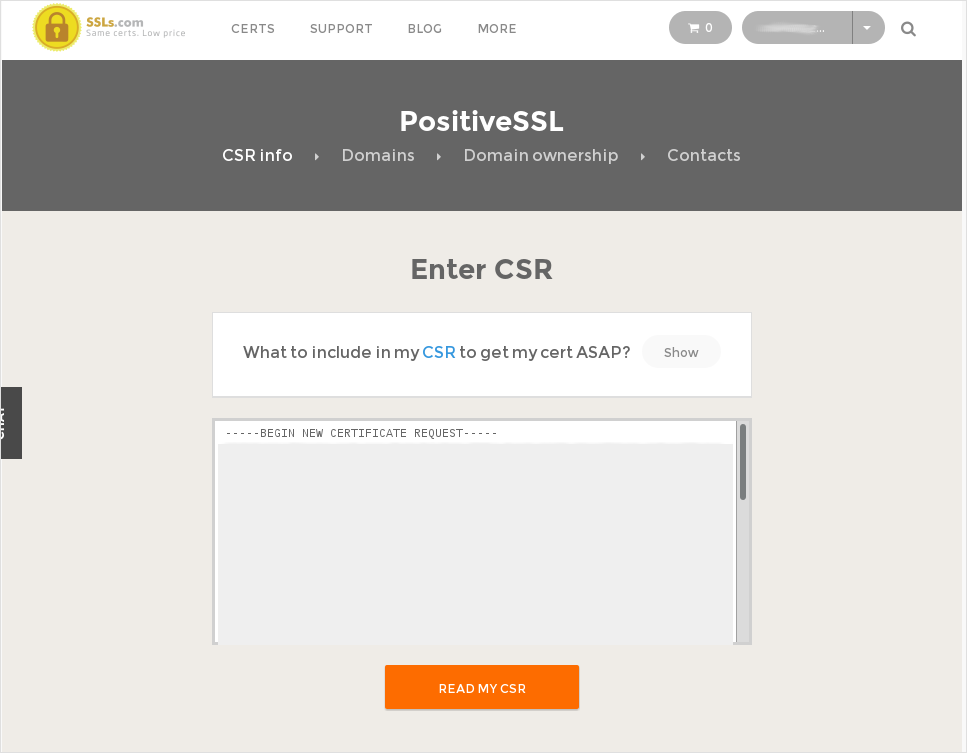
The following page will request to paste the content of the CSR file we have generated, so we will copy paste it including the BEGIN NEW CERTIFICATE REQUEST and the END NEW CERTIFICATE REQUEST lines. Paste CSR file content there.
On the next page we will choose the “Java Tomcat” option.
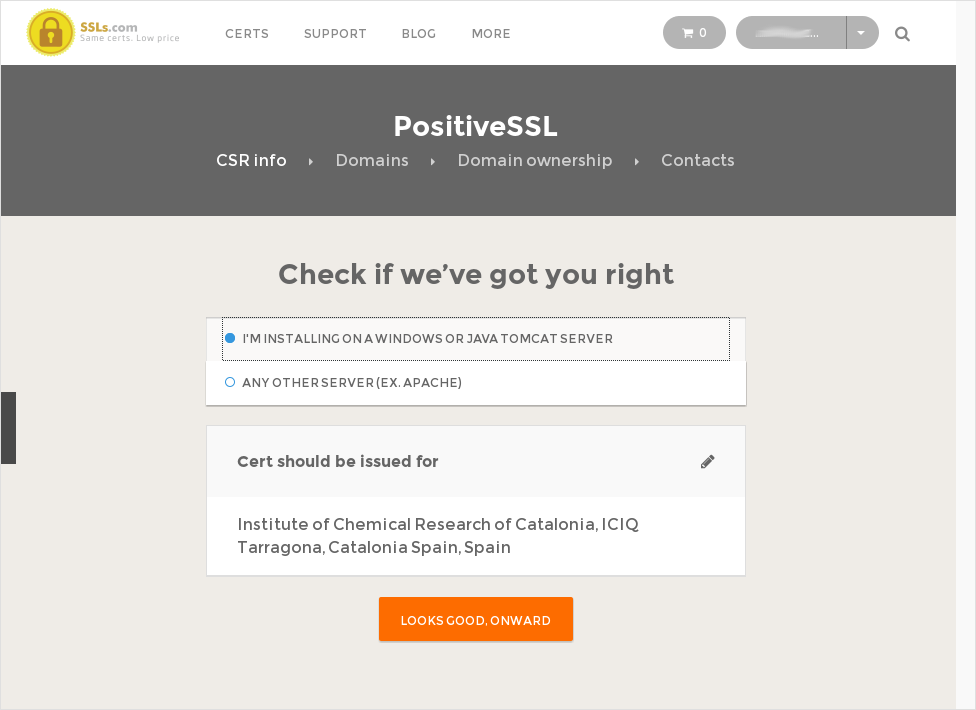
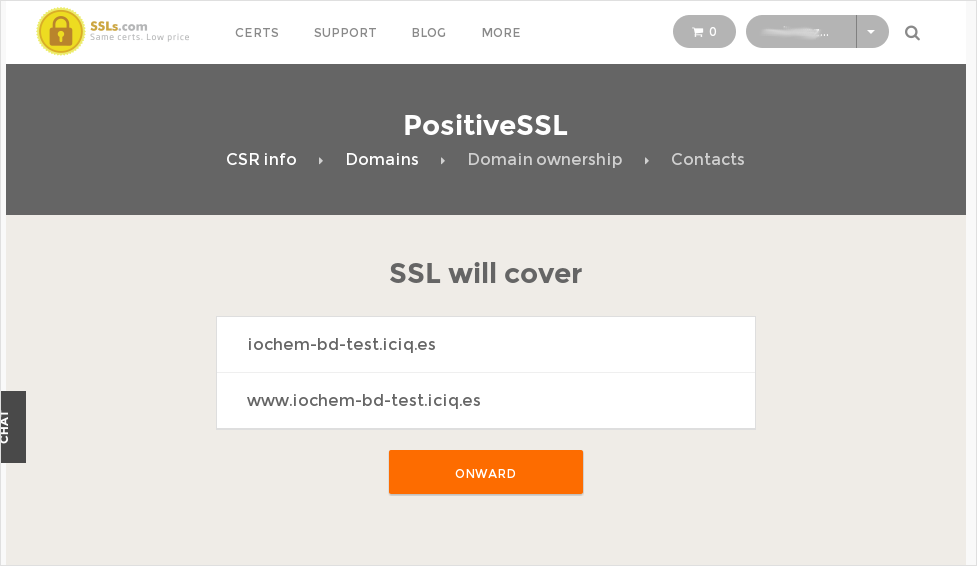
The next page will display the supported domains for this new certificate, please double check this fields are valid.
Validating domain ownership
To store an specific file inside your web server, so the CA will later retrieve it, verifying you are the domain owner, instructions here.
To send you a verification mail to an specific domain email address , further instructions here.

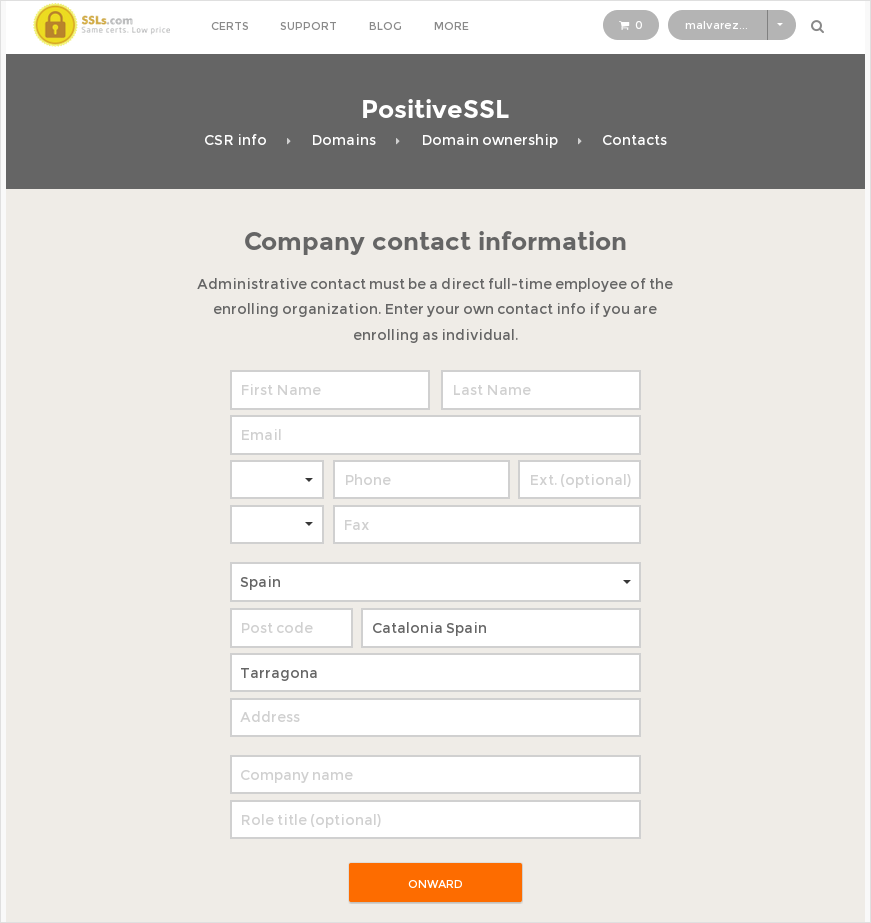
After deciding the validation method (via file or email), we must finally fill the contact form.
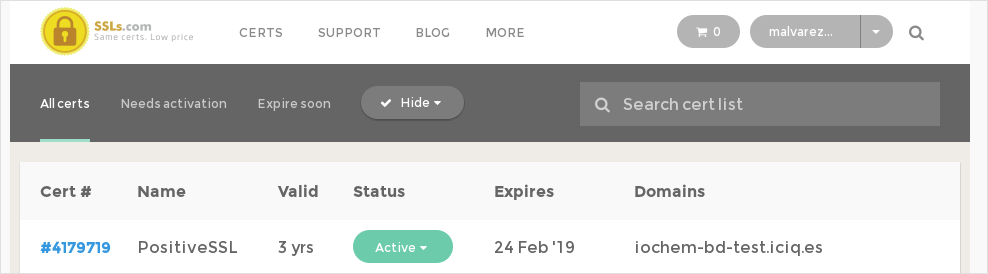
If you followed the previous steps for validating your certificate, the line of your certificate will now display a green Active button on your account.

Installing the certificate
Once we have the certificate .zip file we will extract its contents into the BASE_PATH/create/ssl folder
iochembd$  cp iochem-bd.iciq.es.zip BASE_PATH/create/ssl
iochembd$  cd BASE_PATH/create/ssl
iochembd$  unzip iochem-bd.iciq.es.zip
After the extraction you must have on BASE_PATH/create/ssl folder at least the following files:
A certificate.key file with your private key
A *.crt file with your public key certificate in X509 PEM format
An optional *.bundle with the intermediate CA certificates in X509 PEM format
With the following command you can extract.
Now you can follow the instructions from Associate an existing certificate page.