Installation procedure
The system administrator must perform following actions prior deploying the ioChem-BD platform.
Create iochembd system user
First we will create a user account called iochembd, it will hold ioChem-BD files and will be responsible for running the web service that provides access to the software.
root# useradd -m iochembdWe can use any other non privileged system user or username to install or run this software, we called it iochembd as an example.
WARNING
The following commands will be run as the iochembd user, unless otherwise mentioned.
Unzip application package
To start ioChem-BD installation, we will first download and extract the software package in the iochembd user home.
iochembd$ cd ~
iochembd$ tar -xvf iochembd-binary-X.X.X.tar.gz
All the software is contained inside the single folder you just decompressed, with the following structure:
iochembd
├── apache-tomcat
├── browse
├── cas
├── COPYING
├── create
├── init-script
├── init.sh
├── installer.jar
├── postinstall.sh
├── README.md
├── ssl
├── third-party
├── THIRD-PARTY.txt
├── updates
├── webapps
└── webapps2
We can place it anywhere in our filesystem: one good candidates is iochembd user home, another one is inside /opt folder.
From now on we will talk about BASE_PATH when we refer to the path of this folder. All extracted folders and its inner files must belong to the same user and group than the one that will start the web-server service (in this case iochembd), so it will be able to read and write inside it without problem.
Init database
PostgreSQL configuration
If you have just installed the PostgreSQL server and postgresql-contrib package you need to initialise its databases and start the database server, as root user you must run:
root# /sbin/service postgresql initdbYou must set also PostgreSQL to start every time you restart your server.
root# chkconfig --level 345 postgresql onNow we will configure PostgreSQL authentication file to allow login with password, we will edit /var/lib/pgsql/data/pg_hba.conf and add these two lines:
# TYPE DATABASE USER ADDRESS METHOD
# IPv4 local connections:
host iochemCreate iochembd 127.0.0.1/32 md5
host iochemBrowse iochembd 127.0.0.1/32 md5
We can now start the PostgreSQL database service:
root# /sbin/service postgresql restartWe will now create a new PostgreSQL database user and set the account password.
From the command line we will change to "root" or "postgres" user account (one with enough rights to execute the createuser command) and type the following:
postgres$ createuser -s -d -l -P iochembd

   Enter password for new role: XXXXXXX
   Enter it again:  XXXXXXX
After we create the account, please keep this password safe and consider it the database.password parameter. We will now create the two databases that will store ioChem-BD data:
postgres$ createdb -E UTF8 --locale='en_US.utf8' -T template0 -O iochembd "iochemCreate"
postgres$ createdb -E UTF8 --locale='en_US.utf8' -T template0 -O iochembd "iochemBrowse"
Run the installation script
We must now change back to iochembd user.
Now we can execute the visual installer by moving inside BASE_PATH and executing the init.sh script.
iochembd$ cd *BASEPATH*
iochembd$ ./init.sh
A form will appear showing that the installer has started.
The next one will display the e-mail parameters configuration, more info at mail fields. There are two checkboxes that configure email to use encryption.
- with no encrypted email services (default port 25) we will set both options unchecked
- with SSL encryption (default port 465) we will check first option
- with STARTTLS (default port 587) we will check both options

After filling in all fields, we can test the email parameters by sending a test message. We can click on the Send test button to check this configuration.
In the new form we can set the destination email and in a few seconds we must receive a test message from the installation program in our mailbox.
INFO
Please check you received the test email because this is a very important step in ioChem-BD configuration, otherwise it will not be able to send notification to users.
The next form will ask for all the details related to SSL certificate generation, more info at certificate fields:

Once our certificate has been generated and associated, a new form will pop up. In this one we must define the database connection parameters. Once all of them have been filled, we need to click on the Test connection button to check whether the database connection is successful.

The next form will ask for basic login information for ioChem-BD administrator account generation, more info at administrator account fields:

Last form will ask for installing ioChem-BD, clicking on Back button will start the process all over again.
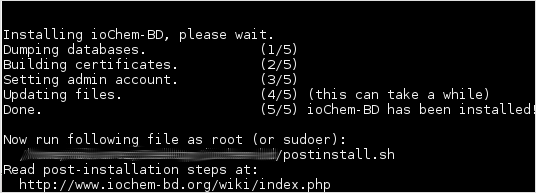
After clicking on Install, a series of messages will inform us of the different install stages, the process can take a few minutes to finish all steps.

Once installation has finished, if you used default port (443) or one under 1024 to run ioChem-BD you must run as root the script file indicated by installer: postinstall.sh. It will open such privileged port to ioChem-BD services.
If you get a message like this:
root# BASEPATH/postinstall.sh: line 6: setcap: command not foundThis is because your system doesn't have the setcap package installed, run this command in order to install the package and then run the post install script again.
root# zypper install libcap-progs
root# BASEPATH/postinstall.sh
Edit /etc/hosts
You must add an entry on /etc/hosts to avoid ioChem-BD web services to go outside your network to find your domain, so you must enter the following line on /etc/hosts,
127.0.0.1 iochem-bd.urv.es #Please replace iochem-bd.urv.es for your server domain nameStart the web service
The files responsible for managing our web service are:
iochembd$  BASE_PATH/apache-tomcat/bin/startup.sh    # to start service
iochembd$  BASE_PATH/apache-tomcat/bin/shutdown.sh -force  # to stop service
After starting the web server you can track BASE_PATH/apache-tomcat/logs/catalina.out file to look for start-up errors. If they appear, please contact us in order to assist you as soon as possible.
Access ioChem-BD main page
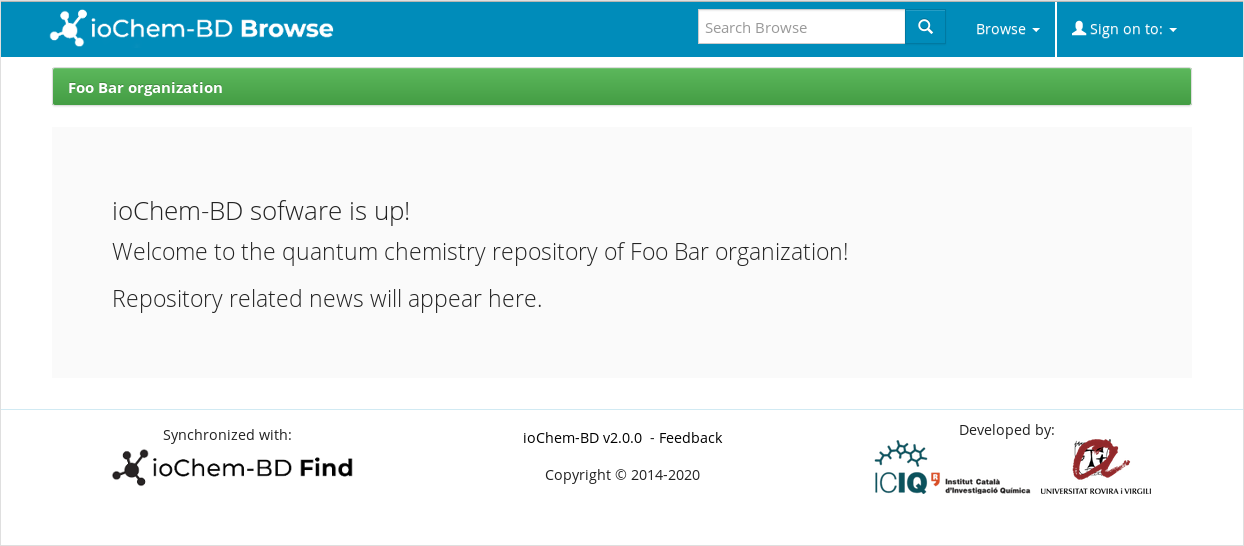
Once installation has ended and web service has started, you should be able to access the main page of the ioChem-BD software, from now on BASE_URL.

To access both modules you can click on homepage top links or append module name to base URL:
- BASE_URL/create
- BASE_URL/browse
The web browser will "complain" about the self-signed certificate of the HTTPS pages, we just need to add an exception to avoid future questions or install a valid HTTPS certificate.
Now that the ioChem-BD software is successfully deployed, we have to create user accounts and define user groups. Please refer to the Post installation steps page.
