Customizing user interface
The ioChem-BD administrator account can easily customize Browse and Create module, so new visitors will get extra information about the instance they are visiting.
The most important customizable sections are:
Browse module
Front page
Browse front page can be customized to display an institution logo and any extra text information so the running instance can be distinguished from other existing instances.
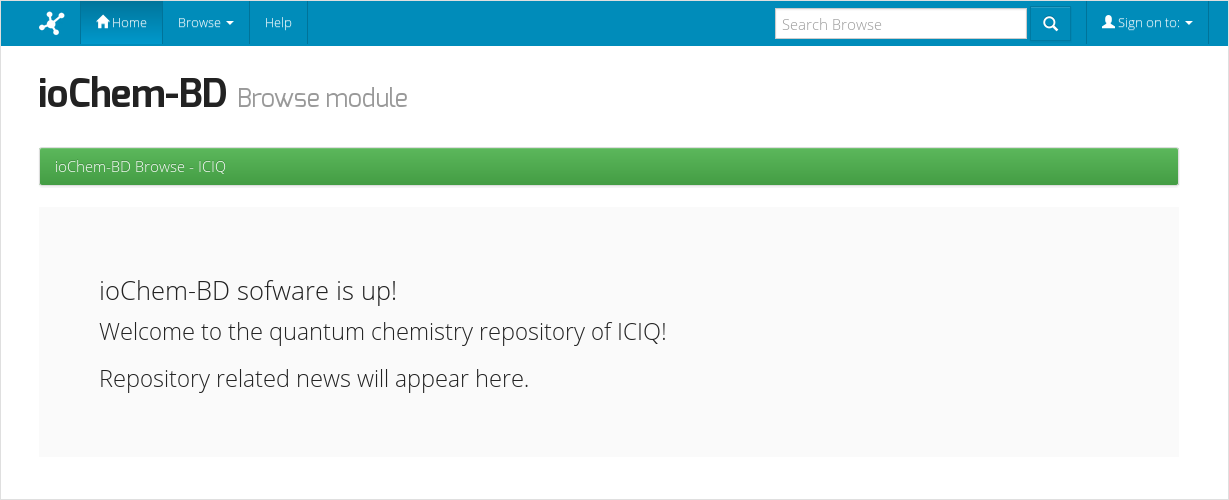
It is also interesting as a mean to inform users of scheduled maintentance, new funcionalities notifications, etc. After successfuly installing the platform, this will be the default main page for the Browse module:
To customize it, first you must copy your institution logo file inside BASEPATH/webapps/browse/image folder.
Some considerations must be taken:
- Name logo file as logo_institution.png to easily recognize it.
- Keep image under size under 256x256px, avoid larger images
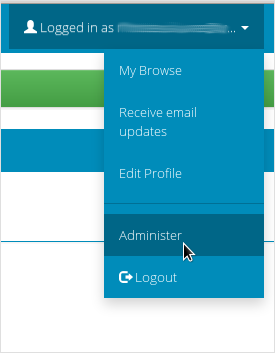
Once the file has been copied, we need to define top news field, such section is the one that appears on Browse front page. We must then login into ioChem-BD as administrator clicking on Sign on to: -> My Browse, then click on Administer option.
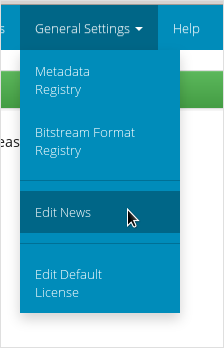
Once identified as administrators, we must select General settings -> Edit news
From the next page we will select Top news

The next windows will show a textbox where we will insert the HTML code that will be displayed on front page. You can take the next code as an example:
<div class="row">
   <div class="col-md-4">
       <img src="image/logo_institution.png" />
   </div>
   <div>
      <h3>ioChem-BD v1.1.0</h3>
      <p>Welcome to the quantum chemistry repository of YOUR INSTITUTION NAME HERE!</p>
      <p>Repository related news will appear here.</p>
   </div>
</div>
This piece of code uses Bootstrap notation to organize and resize content. You can add <ul>,<h1>,<p>, and any other HTML tag that help you conform this section.
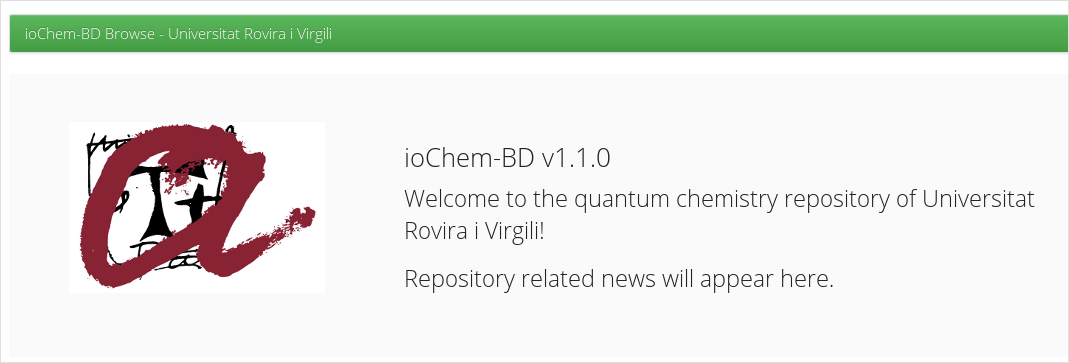
The result of such customization can be seen here.
Communities
Another interesting customization is to add extra information to your existing communities, so such publication end point can be enriched with more context.
Usually communities are used to contain collections of datasets related to a research group, a research line or a group of similar calculations.
So multiple fields can be provided:
- A logo/image of the community,
- community name,
- a short description
- an introductory text and
- a copyright text
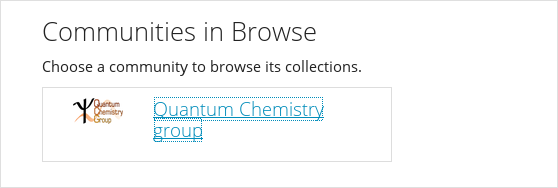
From an administrator account, we will navigate to the desired community we want to edit and browse inside it:
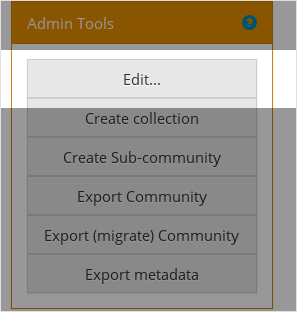
On the left side of the page will appear an administration menu bar where we will administer the community. If we want to increase the hierarchy of our content, we can add sub-communities inside our community by clicking Create Sub-community, this will take us to another page to configure it as described on sub-community generation section.
In this case we will choose Edit... option.
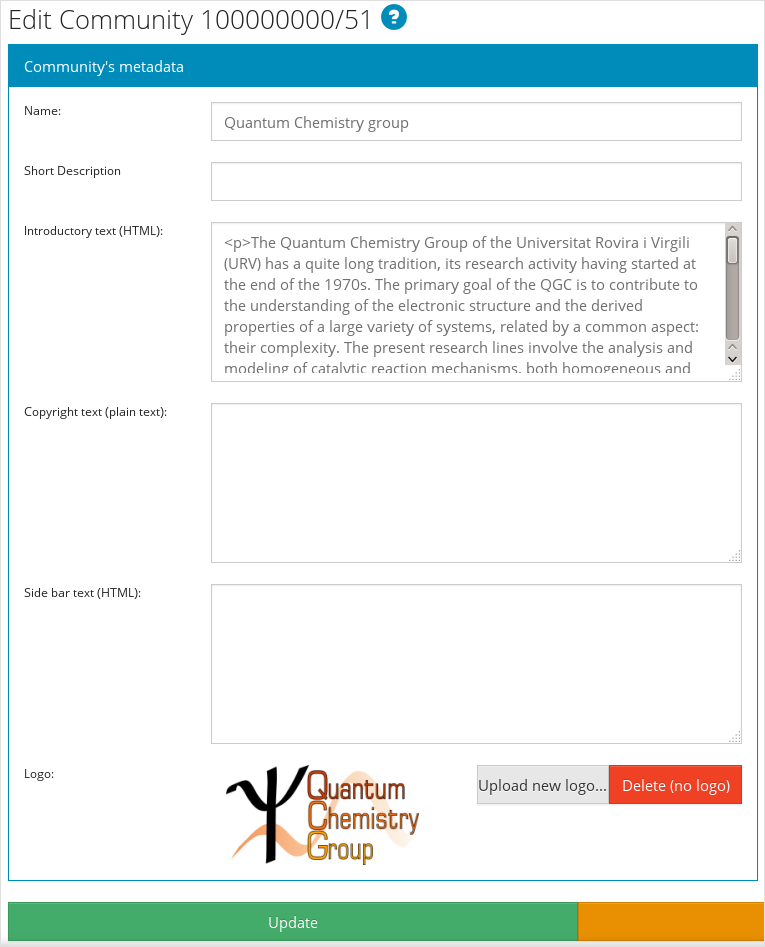
The next page will display a form with all the configuration fields of our community. The most important are community name and logo. Community logo may not be larger than 300x300px (aprox) to avoid consuming too much visual space of community page.
There are other additional and interesting options like Introductory text field, that we can insert formatted as HTML code to display content with lists, tables, and formatted text.
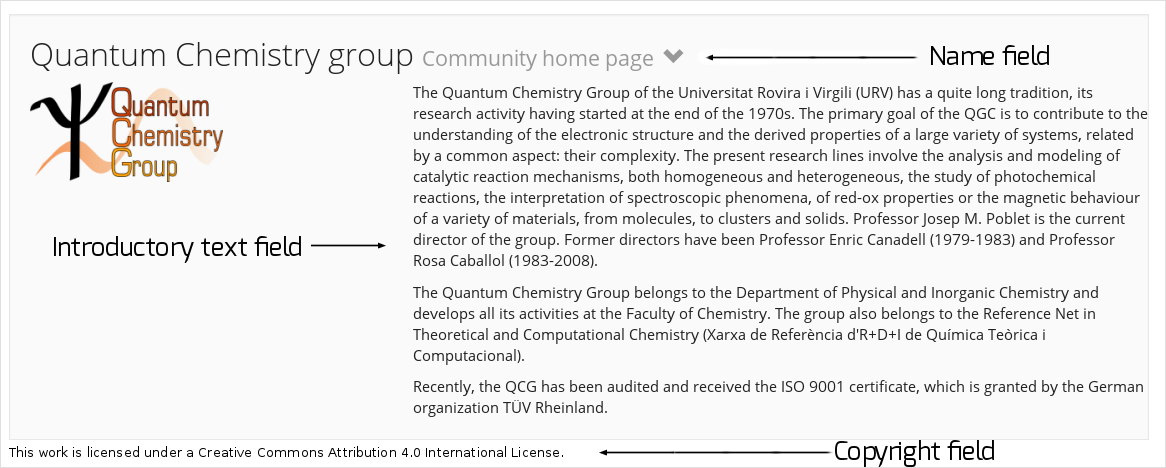
From now on, a logo thumbnail per community will be displayed on community list page, introductory text will be available on each community page when users click on the drop down arrow next to community name.
Once all modification have been done, click on Update button and modifications will then be applied. If you want to apply extra customizations to a community, here are listed all fields and where do they appear.

Collections
Collections are sets of calculations generated automatically during Create module publishing process. Their name is also user provided during publication process. In certain situations we may want to change collection name and additional fields: to fix publication misspells, wrong naming, change of naming convention, etc.
To change it, we will access into desired collection from an administrator account.
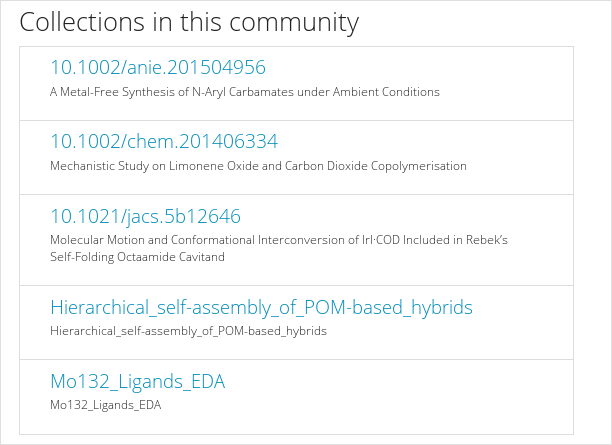
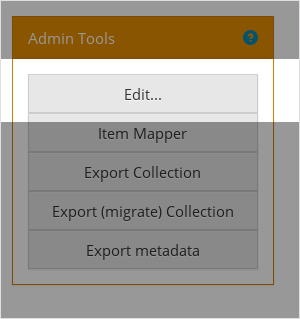
On the collection page there will be a left sidebar with all available options. We must select Edit
A form will appear with all customizable fields, from name to provenance. Most relevant are name, and short description, which are displayed on community homepage, on collection list.
We can assign a different license text to this collection, even upload a logo to visually identify such content. Collection customizable fields, in this case user decided to set collection name with the DOI of the related paper.
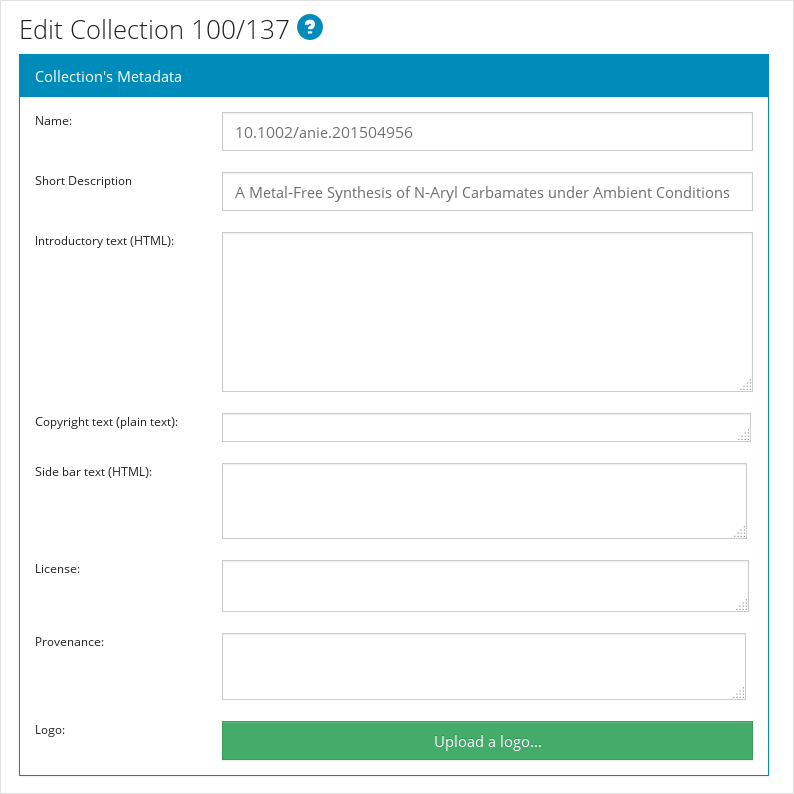
Once all necessary fields have been changed, we must click on Update button to apply changes, our collection is now updated.
Create module
Welcome page
All ioChem-BD users that access Create module will view a welcome panel. Located on the upper right side of the window, it contains information about the current instance.
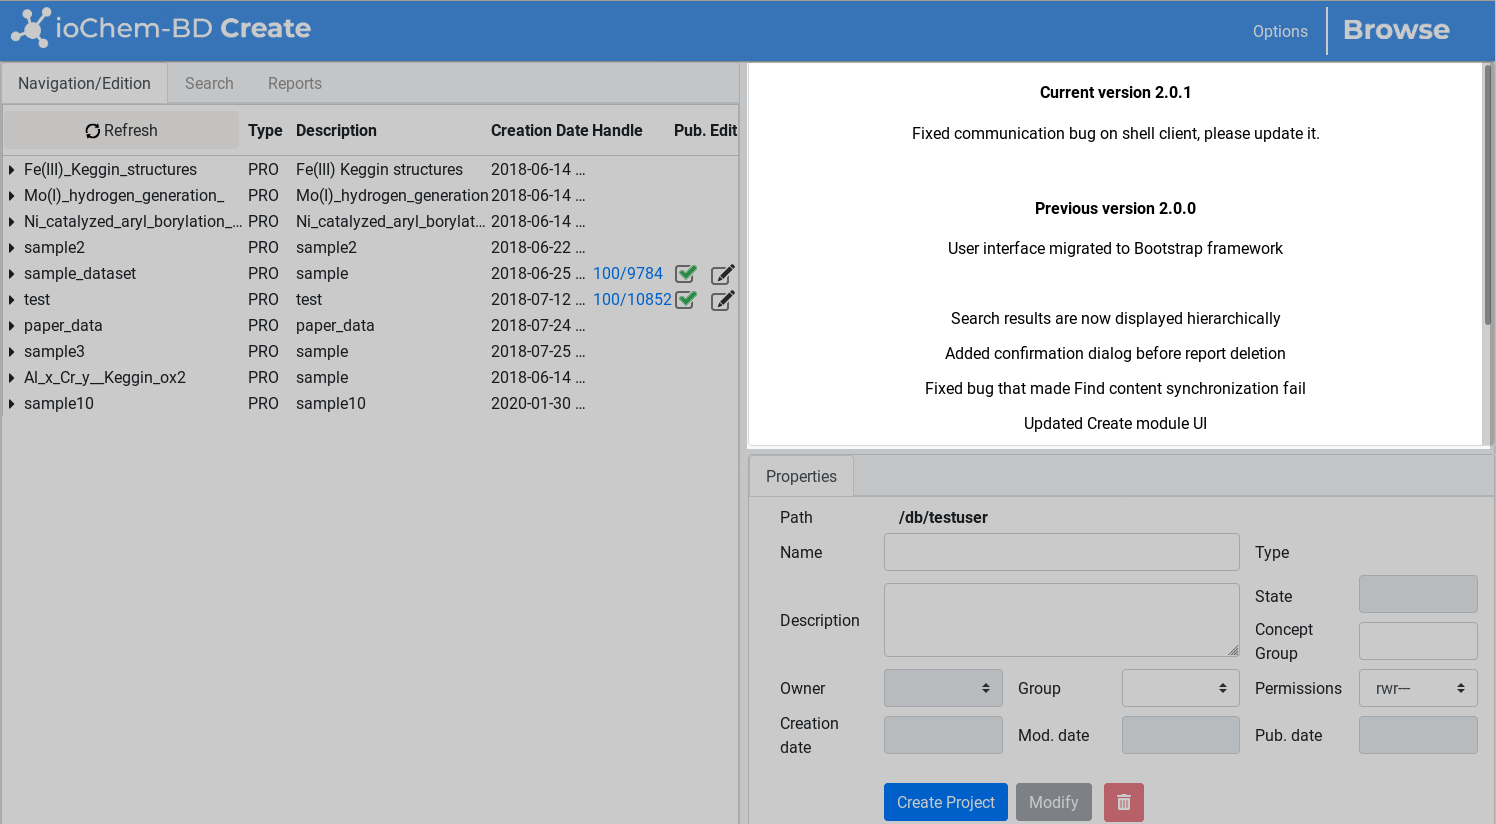
To notify users about scheduled system maintenance, news or other relevant information, the administrator may edit the file located inside BASE_PATH/webapps/create/html/news.html. Such file is loaded in the system as an independent html file so its content must be valid and well-formed.
Here is an example of such file:
<html>
   <body>
      <center>
         <h4>Current version 1.1.0</h4>
         View <a href="http://www.iochem-bd.org/changelog.html" target="_blank">changelog</a>
         <!--
            <h2>System maintenance alert</h2>
            <p>ioChem-BD will be under maintenance from XXXXX to XXXXX</p>
         -->
      </center>
   </body>
</html>
Notice the commented html text that we can uncomment to notify a scheduled maintenance.
